Easy Christmas Snack Crafts for Kids
7:42:00 AM
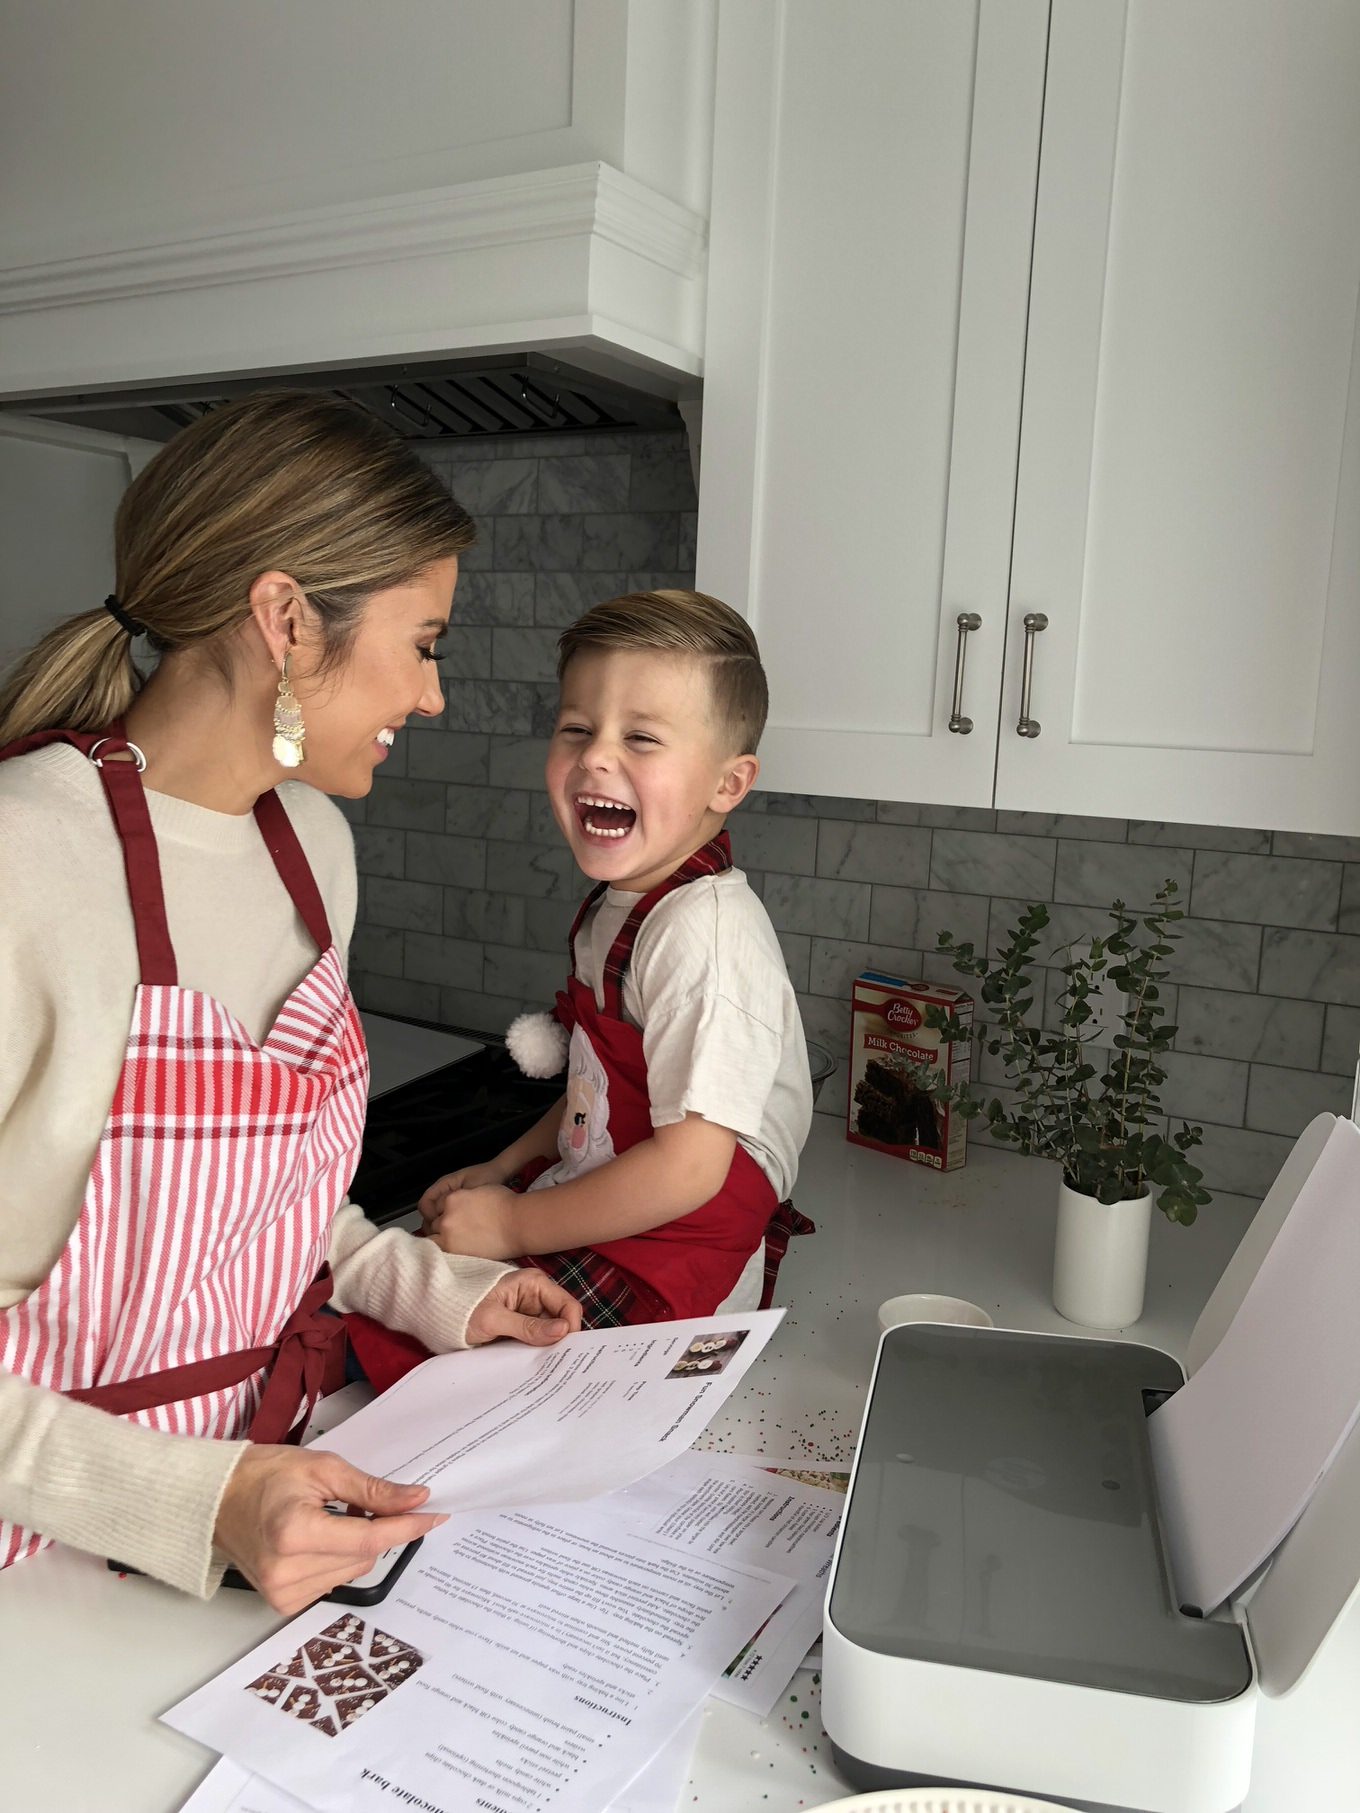
Beckam is really into crafts these days, and this time of year I love making easy Christmas snacks that B looks at as a craft he can eat! Does anyone else have way too much junk food this time of year! Can’t help it 😉 I printed out a bunch of easy holiday recipes for us to do together.
Beckam and I had so much fun making these Christmas tree brownies recently…and they were so easy! Thought I would share the recipe along with a few of our other favorites 🙂 Happy baking!
Ingredients:
- 1 box Brownie Mix
- 1 tub white vanilla icing
- green food colouring
- small round sprinkles
- small star sprinkles
- candy canes
Instructions:
- Line an 8″x8″ baking pan with aluminum foil and spray with cooking spray.
- Prepare the brownie mix according to the package directions and bake as directed.
- Allow brownies to completely cool, approximately 1.5 hours.
- Remove the brownies from the pan, and cut into triangles. (Cut in three rows, then cut in alternating diagonals, as in the photo shown above).
- Unwrap the candy canes, and use a sharp knife to gently cut/break the candy canes into 1.5″ long pieces.
- Press the sharper end of the candy cane into the bottom of the brownie triangles.
- Spoon out approximately ½ of the tub of icing into a bowl.
- Add green food colouring until you’re happy with the colour.
- Spoon the green icing into a zip lock bag.
- Seal the bag and cut off a small corner of the bag with sharp scissors.
- Starting at the top of the brownie triangles, gently squeeze out the icing in a curvy zigzag as you go down the tree.
- Add your favourite sprinkles and a small star sprinkle at the top.
- Enjoy!
Source: One Little Project
Ingredients:
- Hot cocoa (powdered)
- Mini marshmallows
- Large Piping bags (can be purchased at your local craft store). If you use smaller ones you will need less cocoa.
- Red Pom Poms (can be purchased at your local craft store)
- Brown Pipe Cleaners (can be purchased at your local craft store)
- Googly eyes (can be purchased at your local craft store)
- Chocolate chips *optional
- Circle Sticky tabs or velcro circles to adhere the red pom poms
Instructions:
You will need two cups of powdered cocoa for each cocoa cone if you use the large sized bags.
- Fill your Piping bags with the hot cocoa mix (2 cups worth per bag- I used larger bags)
- Top with mini marshmallows, and then a small amount of chocolate chips.
- Tie them off it a knot.
- Wrap your pipe cleaner around the knot to make them look like antlers.
- Using double-sided tape, or sticky circles tape the googly eyes, and red pom poms to your bags.
Source: Savvy Saving Couple
Ingredients:
- 2 cups milk or dark chocolate chips
- 1 tablespoon shortening (optional)
- White candy melts
- Pretzel sticks
- White non pareil sprinkles
- Black and orange candy color OR black and orange food writers
- Small paint brush
Instructions:
- Line a baking tray with wax paper and set aside. Have your white candy melts, pretzel sticks and sprinkles ready.
- Place the chocolate chips and shortening (if using, it thins the chocolate for better consistency, but it isn’t necessary) in a microwave-safe bowl. Microwave for 90 seconds at 70 percent power. Stir and continue to microwave at 30 second, then 15 second, intervals until fully melted and smooth when stirred well.
- Spread on the baking tray. Tip: Use a large offset spatula greased with shortening to help spread the chocolate. You won’t fill up the entire tray, just spread to fill about 80 percent of the tray. Immediately assemble three white candy melts for each snowman scattered across the chocolate. Add pretzel stick arms. Sprinkle white sprinkles over the chocolate.
- Place a few drops of black and orange candy color on a piece of wax paper. Use the paint brush to paint faces and carrots on each snowman OR use the edible writers. The edible writers are much easier and dry more quickly, but they are less vibrant on the candy melts.
- Let the tray sit at room temperature to set about an hour, or place in the refrigerator to set about 30 minutes. Cut the bark into pieces around the snowmen. Let set fully at room temperature or in the fridge.
Source: The Decorated Cookie
Ingredients:
- 2 bananas
- 1/4 of a carrot
- Handful of currents or sultanas chopped
- 3 strawberries
- 6 grapes
- 6 skewers
Instructions:
- Cut the bananas into thick slices (approx. 9 rounds per banana)
- Peel the carrot and cut into small triangular slivers for a pointy nose
- Trim the stem from the strawberries and then cut in half. You should get two hats out of each strawberry
- Cut the grapes in half. (We only used the smooth half and ate the stem end)
- To assemble, thread three slices of banana on to each skewer followed by a strawberry hat and grape half. Gently press the currents into the banana slices to create eyes and the buttons on the body then add the carrot nose
- Serve immediately
- Tip: Chop everything up, place all the bits in separate bowls and then have the kids assemble the snowmen
Let me know if you guys try any of them! Who else loves baking during the holidays?
XX,
Christine
from Hello Fashion http://bit.ly/2GsANg0
via Hello Fashion

Book an appointment with Kaitlin Rife (Vidal Sassoon Trained) expert hairstylist.
Call / Text (916) 616-4756 - View My Portfolio
Located @ 420 Palladio Pkwy Folsom, CA | Image Via Byrdie


0 comments